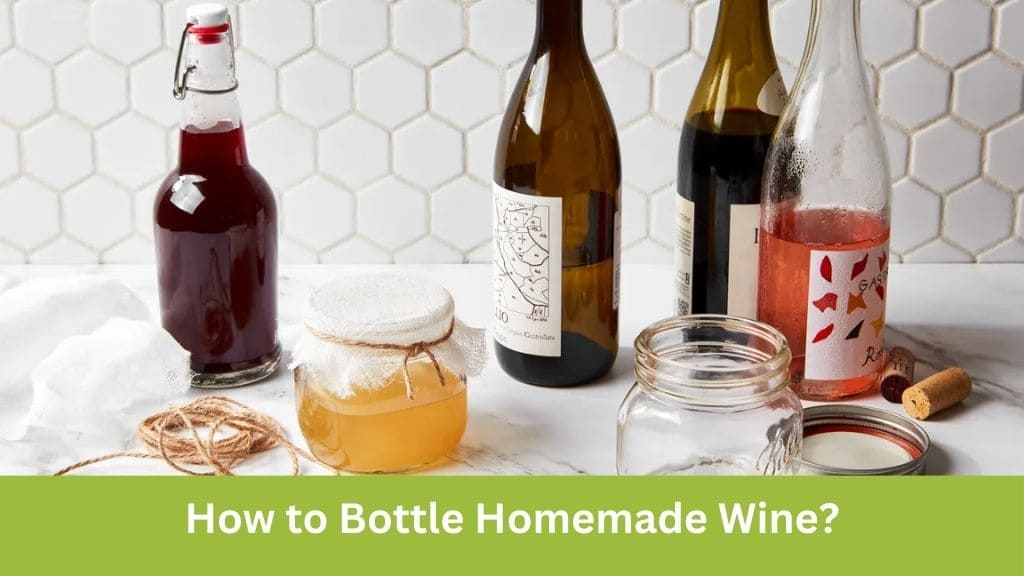
Making wine at home can be a rewarding and enjoyable experience, but bottling it properly is crucial to ensure its quality and longevity. In this comprehensive guide, we will walk you through the entire process of bottling homemade wine, from selecting the right bottles to storing your finished product.
Bottling homemade wine is the final step in the winemaking process, and it requires careful attention to detail to preserve the wine’s flavor and quality. This guide will cover everything you need to know to bottle your wine like a professional, ensuring that each bottle is a testament to your hard work and dedication.
Choosing the Right Bottles
Quality Matters
When it comes to bottling wine, not all bottles are created equal. Using high-quality, heavy glass bottles is essential for maintaining the integrity of your wine. Here are some key considerations:
- Material: Always use glass bottles, as plastic can degrade over time and affect the wine’s taste.
- Condition: Ensure that bottles are free from chips, cracks, and rough edges. Smooth glass is ideal.
- Type: Traditionally, white wines are stored in clear bottles, while red wines are stored in green bottles.
Avoiding Plastic Bottles
Plastic bottles are not suitable for long-term wine storage. They can allow air to seep in, which can spoil the wine, and they may also leach chemicals that can alter the wine’s flavor. Stick to high-quality glass bottles to ensure the best results.
Preparing the Bottles
Sterilization
Sterilizing your bottles is a critical step to prevent contamination and ensure the longevity of your wine. Follow these steps to sterilize your bottles properly:
- Clean Thoroughly: Wash the bottles with warm, soapy water and rinse thoroughly.
- Sterilize: Use a solution of sodium metabisulfite or a similar sterilizing agent. Fill the bottles with the solution, let them sit for a few minutes, then drain and rinse with clean water.
- Dry: Allow the bottles to air dry completely before use.
Wine Making Kits
Consider investing in a wine making kit that includes all the necessary tools and equipment for sterilizing and preparing your bottles. These kits often come with detailed instructions and can simplify the bottling process.
Transferring the Wine
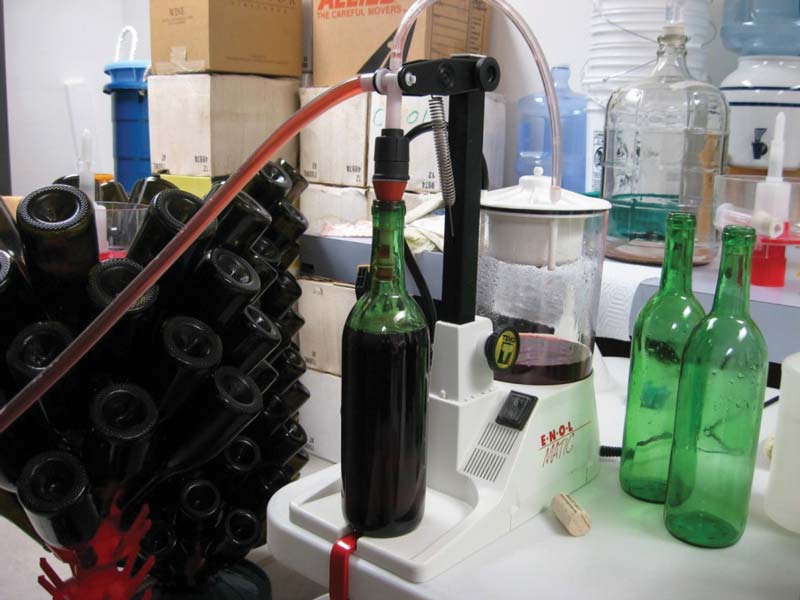
Siphoning
Transferring wine from your secondary fermenter to the bottles requires care to avoid introducing air, which can lead to oxidation. Siphoning is the best method for this process:
- Setup: Place the secondary fermenter on a higher surface than the bottles.
- Sanitize: Sterilize the siphon and tubing before use.
- Start Siphoning: Insert the siphon into the fermenter, ensuring it does not disturb the sediment at the bottom. Begin siphoning the wine into the bottles, filling them to about one centimeter below the bottom of the cork when upright.
Minimizing Air Exposure
Reducing air exposure during bottling is crucial to maintain the wine’s quality. Using a siphon helps minimize this exposure and ensures a smooth transfer.
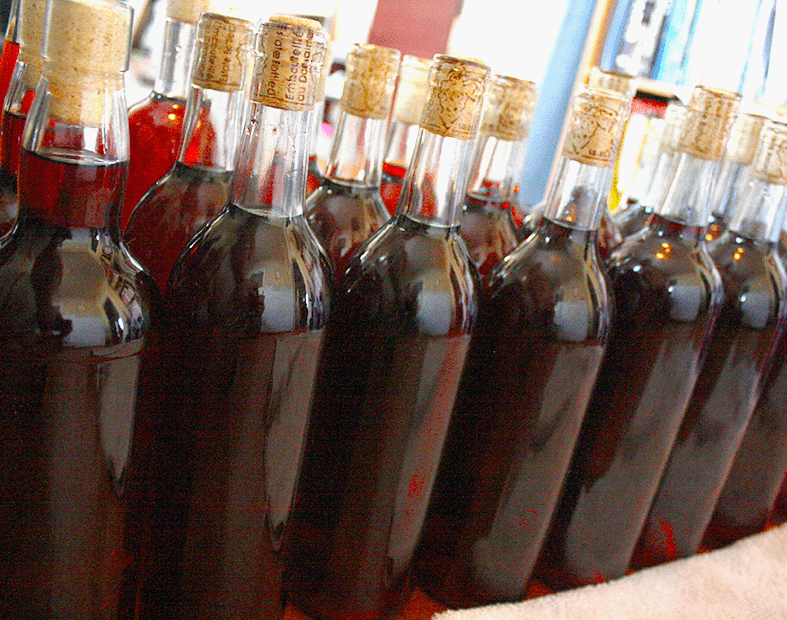
Corking the Bottles
Using a Corking Machine

A corking machine is an excellent investment for home winemakers. It ensures that corks are inserted properly and securely, reducing the risk of air entering the bottle. Here’s how to use it:
- Prepare the Corks: Boil the corks to sterilize them and make them more pliable.
- Load the Corking Machine: Place a cork in the machine.
- Cork the Bottle: Insert the cork into the bottle using the machine, ensuring it is flush with the top of the bottle.
Choosing the Right Corks
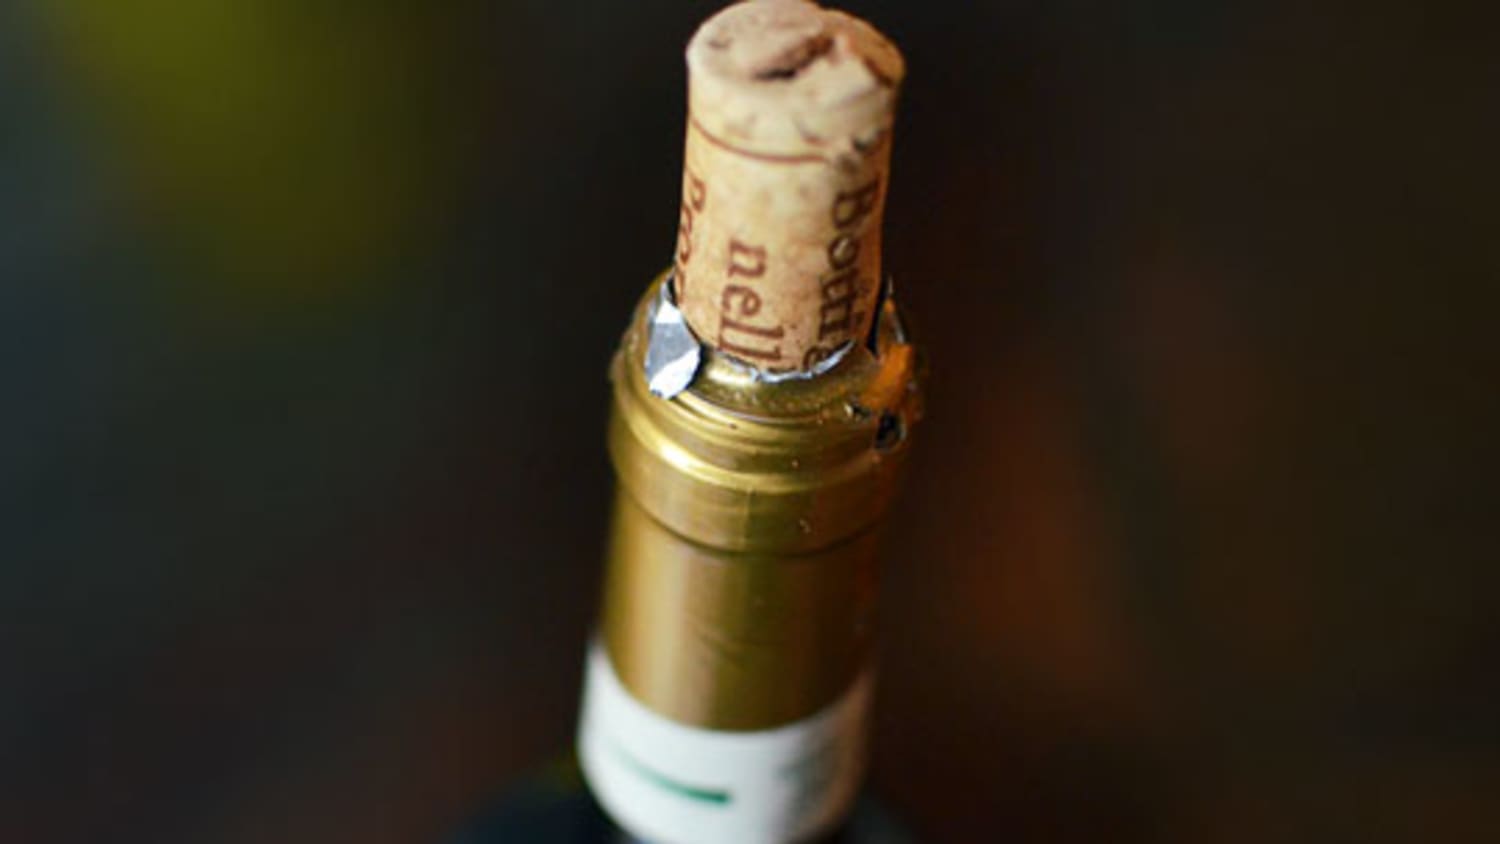
Not all corks are the same. Here are some tips for selecting the best corks for your wine:
- Natural Corks: Made from a single piece of cork bark, these are the traditional choice and provide an excellent seal.
- Synthetic Corks: While they can be used, they are often more problematic and less traditional.
Initial Storage
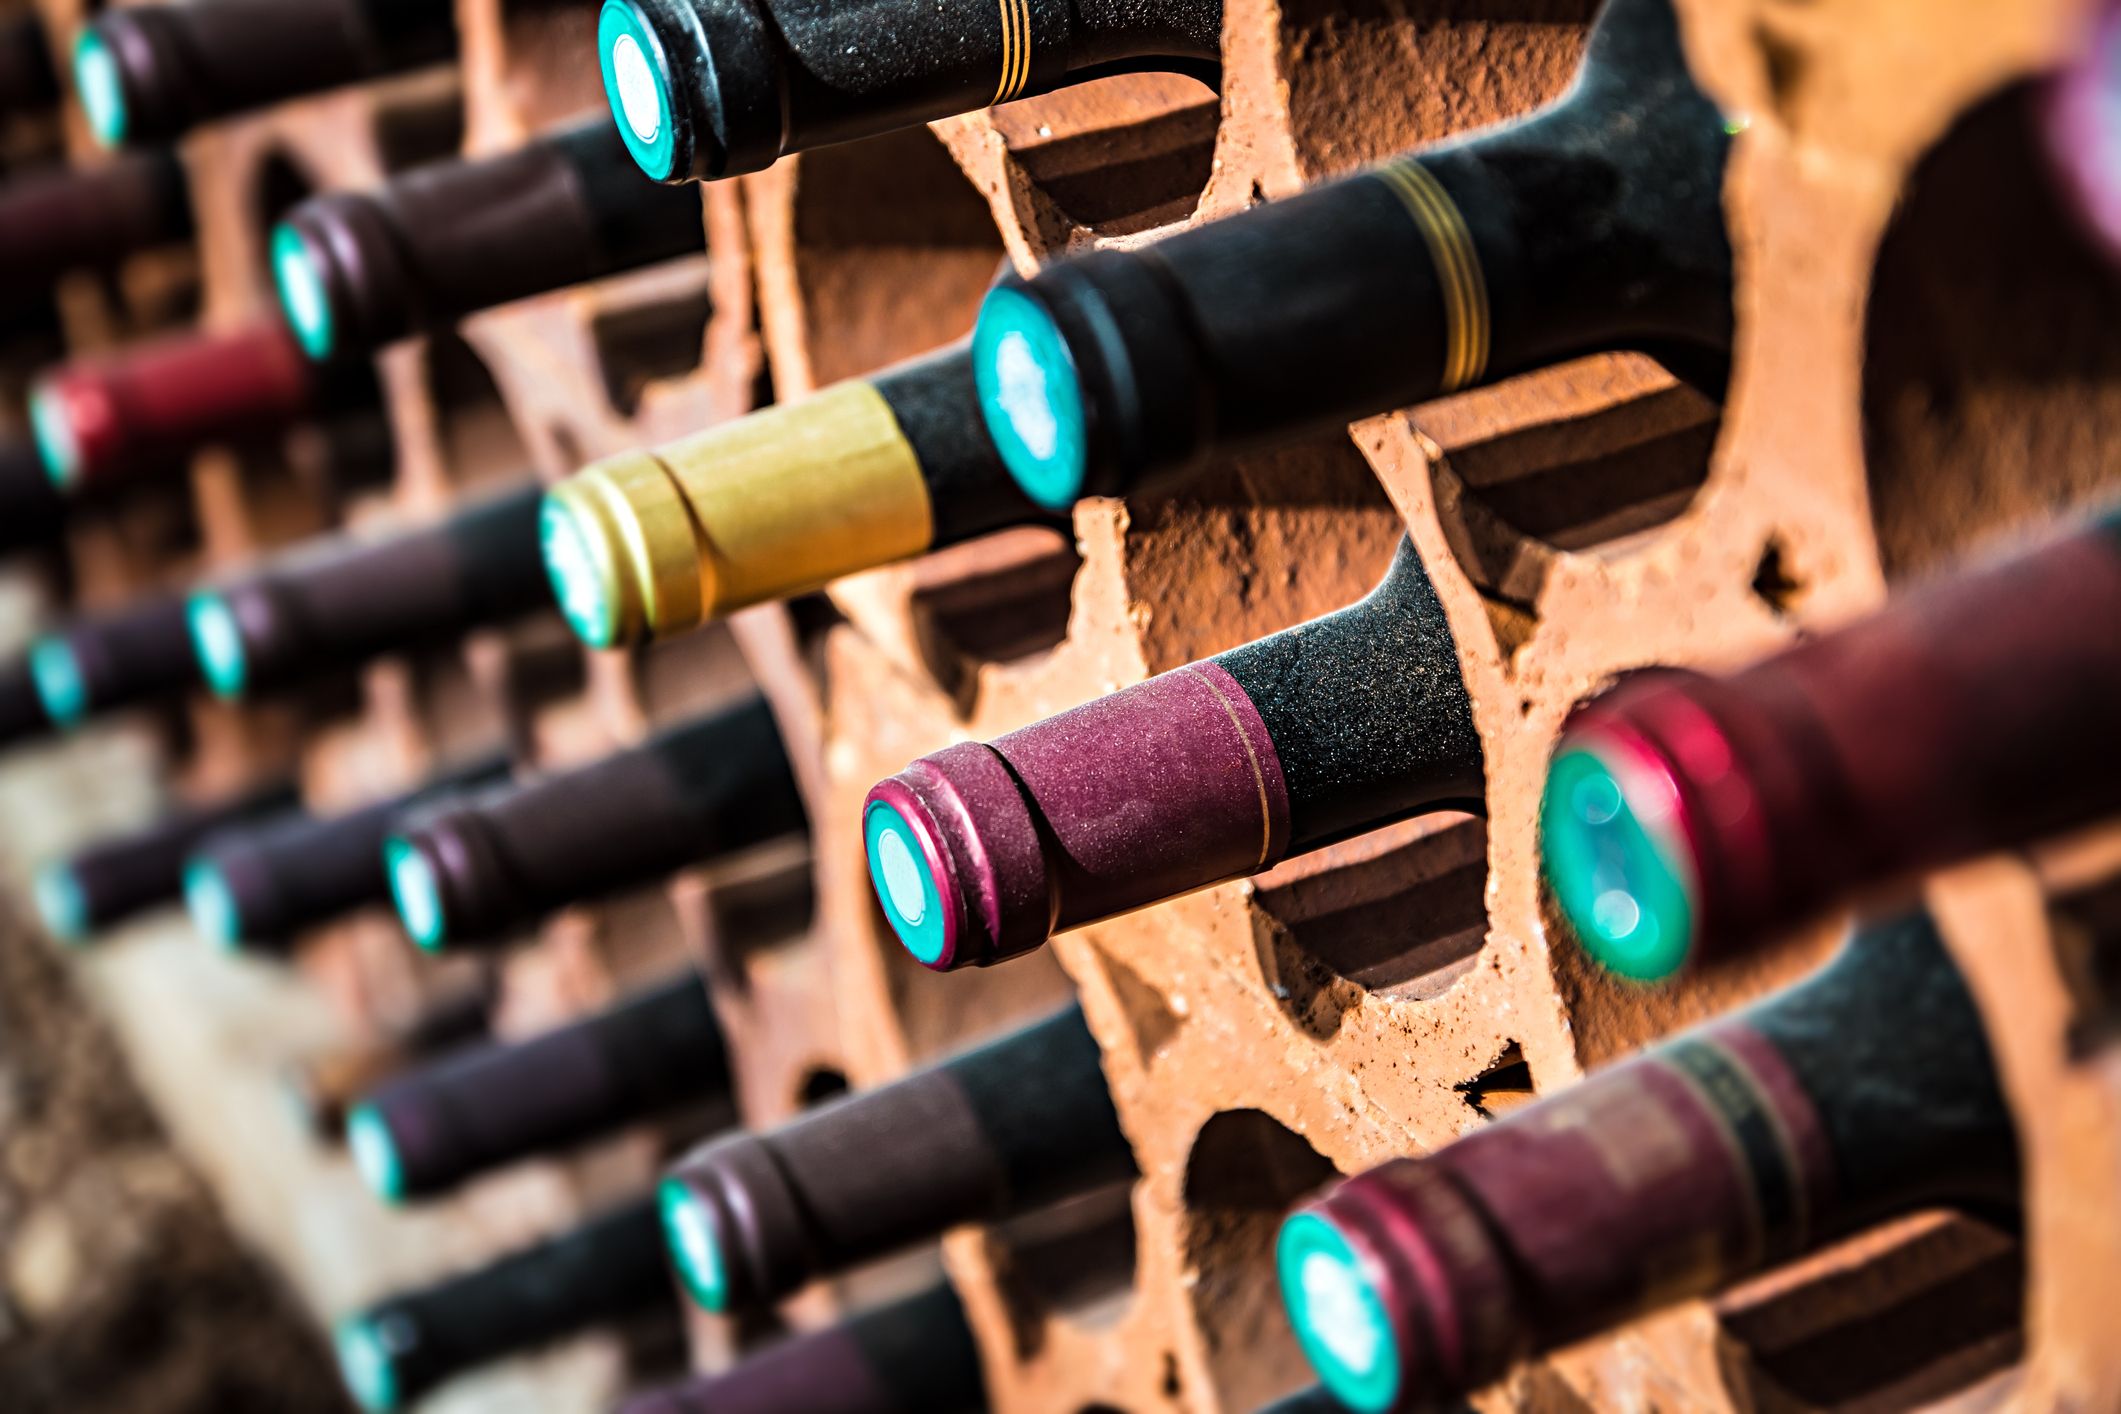
Upright Position
After bottling, store the wine bottles upright for 2-3 days. This allows any surplus air to escape and ensures a proper seal as the cork expands.
Sideways Storage
After the initial period, store the bottles on their side. This keeps the cork moist, preventing it from drying out and shrinking, which can let air into the bottle.
Long-term Storage Conditions

Ideal Environment
Proper storage conditions are essential for the maturation and preservation of your wine. Here are the key factors to consider:
- Temperature: Keep the storage area at a stable temperature, ideally between 50-60°F (10-15°C).
- Humidity: Maintain a humidity level of around 70% to keep the corks from drying out.
- Light: Store wine in a dark place, as UV light can degrade the wine.
- Vibration: Avoid storing wine in areas with frequent vibrations, as this can disturb the sediment and affect the aging process.
Wine Cabinets and Cellars
If you don’t have an appropriate cellar, consider investing in a wine cabinet. These are designed to provide the ideal conditions for storing wine and can be a great addition to your home.
Maturation Periods

Homemade wine can be drunk after it has had sufficient time to mature. For white wines, this usually means a minimum of six months, while red wines typically require at least one year of aging. However, some wines may benefit from even longer maturation periods, depending on the type and your personal taste preferences. Tasting the wine periodically can help you determine when it has reached its optimal flavor and readiness for drinking.
Additional Tips and Accessories
Avoid Kitchen Storage
The kitchen is not an ideal place for storing wine due to its fluctuating temperatures and potential exposure to strong odors. Choose a more stable environment for your wine storage.
Use Proper Accessories
Investing in the right accessories can enhance your wine storage and drinking experience. Consider the following:
- Thermometers: To monitor and maintain the correct temperature.
- Dehumidifiers: To control humidity levels.
- Wine Racks: For organized and efficient storage.
- Decanters and Aerators: To improve the wine’s flavor and aroma before serving.
Record Keeping
Keeping track of your homemade wine collection can be a complex task. Consider using cellar books or digital apps to record details about each batch, including bottling dates and tasting notes.
Conclusion
Bottling homemade wine is a meticulous process that requires attention to detail at every step. By choosing the right bottles, properly sterilizing equipment, carefully transferring the wine, and storing it under optimal conditions, you can ensure that your homemade wine reaches its full potential. With patience and care, each bottle you open will be a testament to your hard work and dedication.
I’m Chen Mina, from Vol de Nuit, who has a special passion for bartending, especially mixing wine, beer, and cooktail. Here you will find content about alcoholic beverages, I will bring you knowledge that few people know about this drink.
Related Posts
 How Much Alcohol Is In Champagne? Understanding The Basics
 How Many Calories In A Bottle Of Red Wine: Finding out The Mysteries Of Its Caloric Content
 What Does Vermouth Taste Like? Unlocking The Flavors And Aromas Of This Captivating Elixir
 Wine and Cheese Pairing: Mastering the Art for Culinary Delights