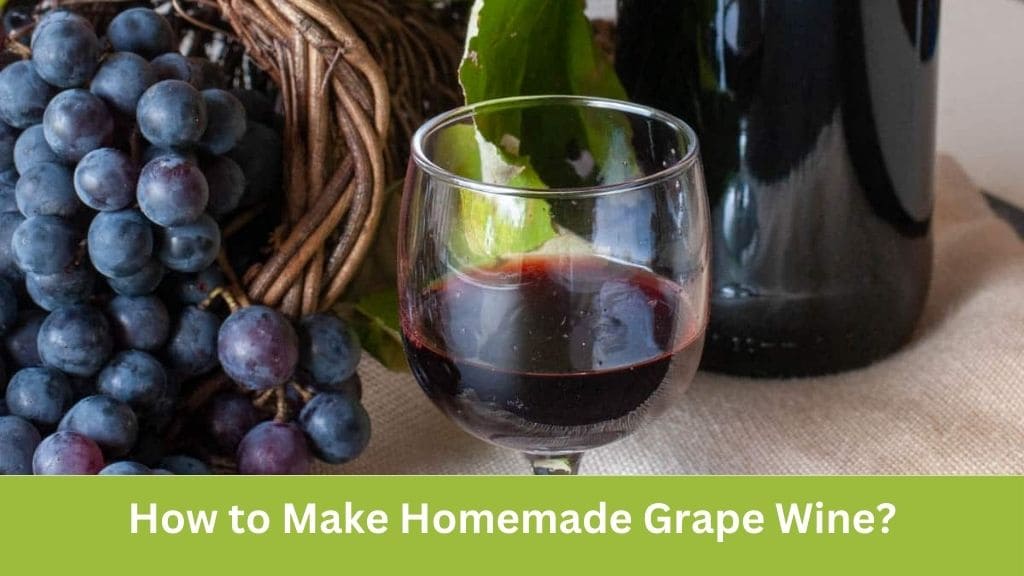
Welcome to the world of homemade winemaking! Turning your home-grown grapes into delicious wine is a rewarding and enjoyable process. In this guide, we’ll take you through every step of the journey, from preparing your grapes to bottling the final product. Let’s get started!
Making wine at home is a time-honored tradition that combines science, art, and a bit of magic. It involves converting the sugars in grapes into alcohol through fermentation. With the right ingredients, equipment, and techniques, you can create a wine that rivals store-bought varieties.
Ingredients and Supplies

To begin, gather the following ingredients and supplies:
Ingredients
- 10kg (22lbs) of grapes
- 4.5kg sugar
- Hedgerow Wine Kit or equivalent ingredients:
- 1g pectolase
- 1 sachet/5g yeast
- 5 tsp citric acid
- 2 tsp bentonite
- 1.5 tsp potassium sorbate
- 28g (1oz) isinglass
- Campden tablets
Equipment
- 25-litre brewers bucket
- 6 demijohns or another fermentation bucket
- Long-handled stirrer
- Airlocks (one for each demijohn)
- 26 bottles with corks/screw caps
- Funnel
- Wine bottle corker
- Hydrometer (optional but recommended)
- Large pan
Step-by-Step Process
Step 1: Prepare Your Equipment
Sterilizing your equipment is crucial to avoid contamination. Wash all buckets, stirrers, and bottles with hot, soapy water. Rinse thoroughly and sterilize using Campden tablets dissolved in water (16 tablets per gallon/4.5l). Let the solution sit in the equipment for 20 minutes before draining.
Step 2: Check and Prepare the Grapes

Your grapes should be ripe but not overly sweet. Taste them to ensure they’re ready, or use a hydrometer to measure the specific gravity (SG), aiming for a reading between 1.070 and 1.100.
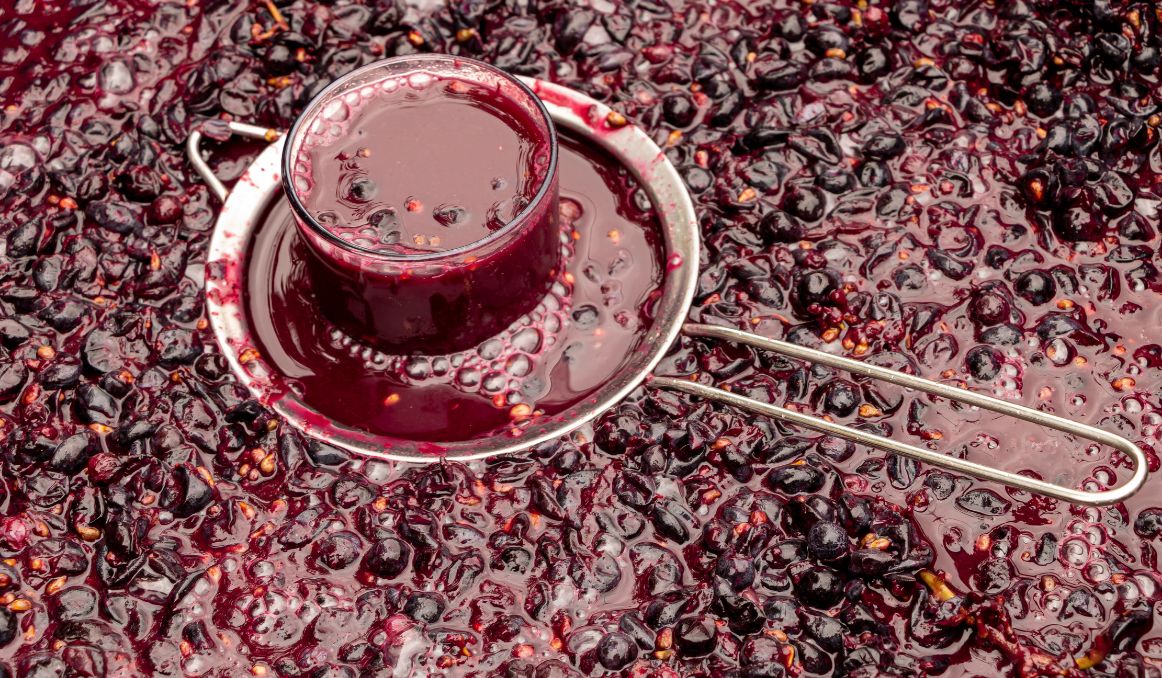
Wash your hands thoroughly before handling the grapes. Remove any stems, leaves, or moldy grapes, then crush them over a large pan or directly into the fermentation bucket to release the juice. Include the grape skins for added color and flavor.
Step 3: Initial Processing
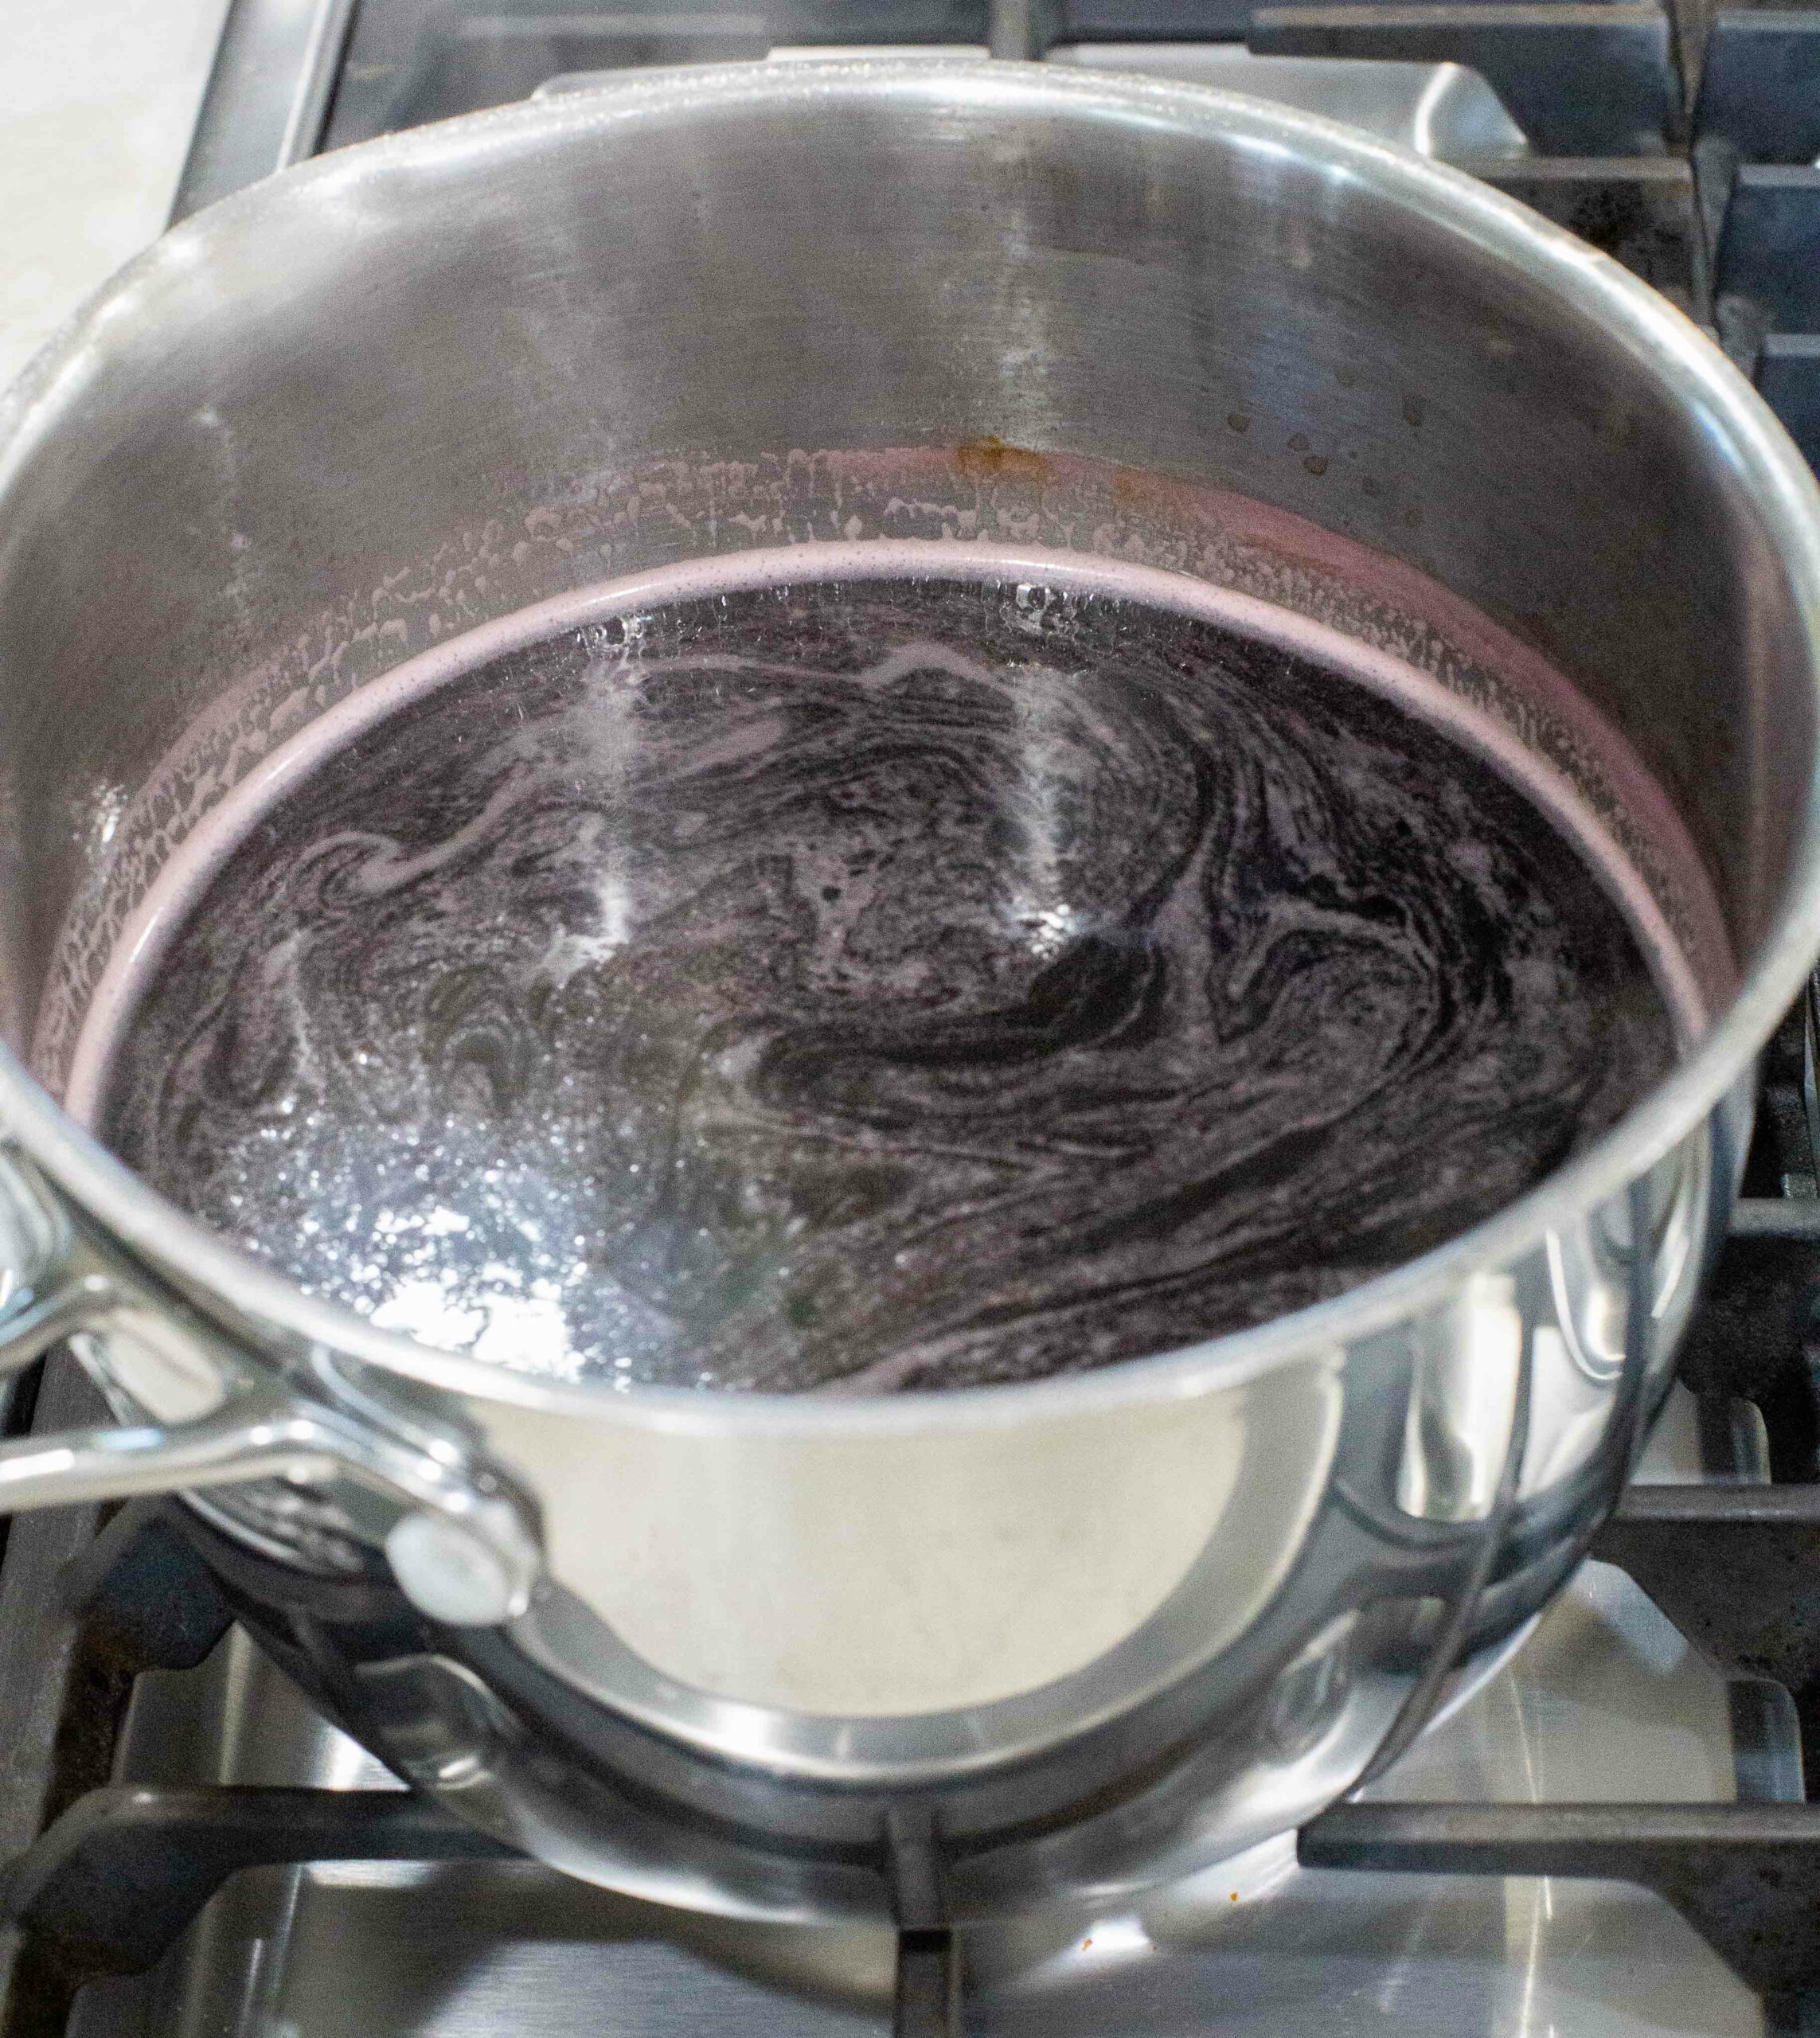
- Boil Water: Bring 10 liters of water to a boil. Pour the boiling water over the crushed grapes in the fermentation bucket. This helps to kill any bacteria and slightly cook the grapes, releasing more color and flavor.
- Add Campden Tablets: Dissolve 5 Campden tablets in a small amount of boiling water and add to the bucket. Stir the mixture thoroughly.
Step 4: Add Sugar and Pectolase

Stir in 4.5kg of sugar until it is completely dissolved. This will increase the alcohol content of your wine. If you prefer a less sweet wine, you can adjust the amount of sugar accordingly. Add 1g of pectolase to break down the pectin in the fruit, ensuring a clearer wine.
Step 5: Fermentation Setup
- Add Cold Water: After the sugar has dissolved, top up the bucket with cold water until you reach the 23-liter mark.
- Sterilize the Stirrer: Boil the stirrer for a few minutes, then use it to mix the contents of the bucket.
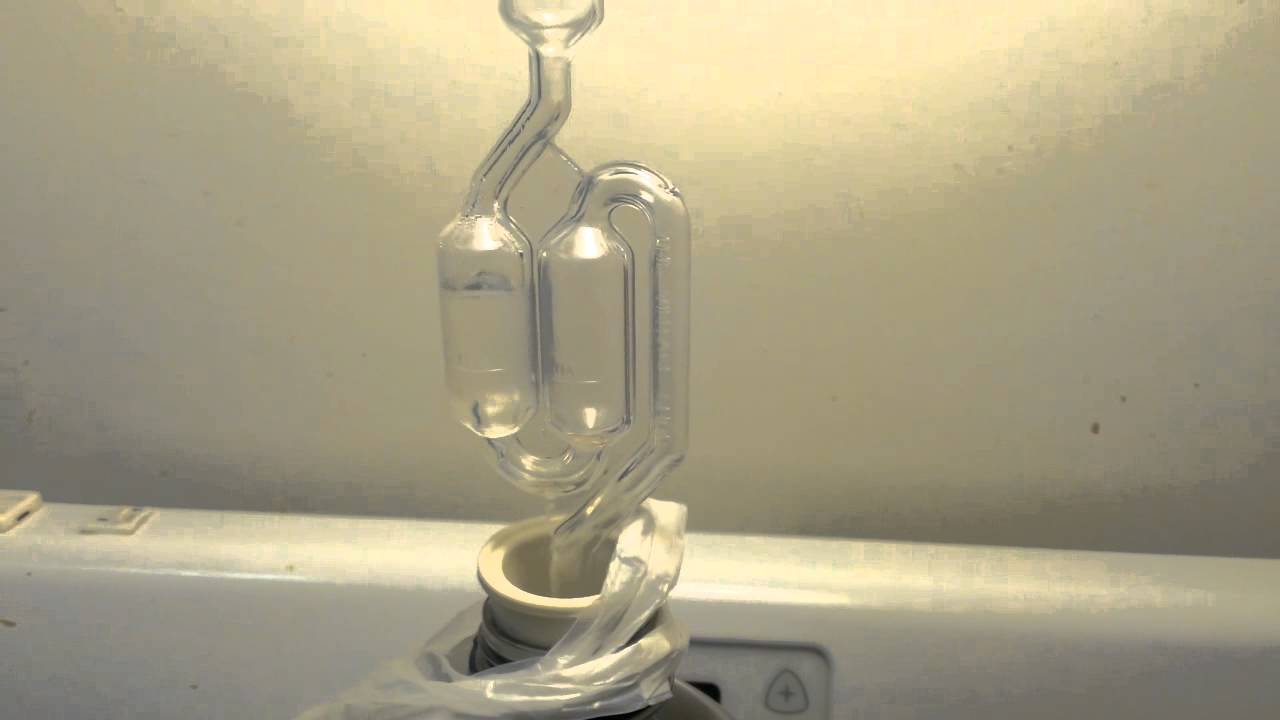
- Install the Airlock: Drill a hole in the bucket lid if necessary and insert the airlock. Fill the airlock with boiled water to prevent contamination while allowing CO2 to escape.
Step 6: Add Yeast and Nutrients
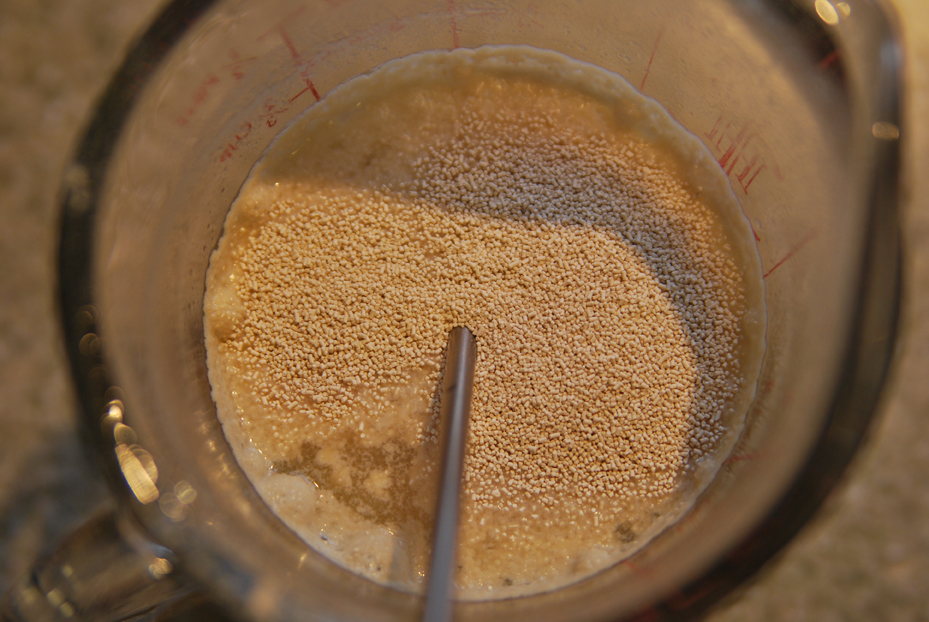
Once the mixture has cooled to room temperature (below 30°C), add the yeast, citric acid, and bentonite (clarifying agent). Stir well, reseal the bucket, and ensure the airlock is properly installed. Leave the mixture to ferment at room temperature for about two weeks or until the bubbling slows significantly.
Step 7: Strain and Stabilize the Wine
- Strain the Mixture: Use a sterilized jug to pour the fermented mixture through a sterilized fruit net into another cleaned and sterilized bucket. Press the net to extract as much liquid as possible.
- Add Potassium Sorbate: Add 1.5 teaspoons of potassium sorbate to stabilize the wine, preventing further fermentation. Stir well.
Step 8: Clarification
- Add Finings: Add 28g of isinglass or follow the instructions for any other fining agents you use. Stir thoroughly and leave the mixture to sit for one day.
- Add Second Finings: If using a two-step fining process, add the second finings as per instructions and stir carefully for 15 seconds.
Step 9: Maturation
Leave the wine to mature in the bucket for about three weeks. During this time, taste the wine periodically to monitor its development. If it tastes too acidic, let it stand longer to allow CO2 to escape naturally.
Step 10: Prepare the Bottles
- Clean the Bottles: Soak bottles in hot, soapy water to remove labels. Rinse thoroughly and use a bottle brush if needed.
- Sterilize the Bottles: Fill the bottles with a Campden tablet solution (16 tablets per gallon of water) and let them stand for 15 minutes. Drain and do not rinse.
Step 11: Bottling the Wine

- Siphon the Wine: Place the bucket on a raised surface and use sterilized tubing to siphon the wine into the bottles. Leave a small air gap at the top of each bottle.
- Seal the Bottles: If using corks, soften them by soaking in hot water, then use a bottle corker to insert them into the bottles. For screw caps, ensure they are tightly sealed.
Step 12: Storage and Aging
Store the bottles in a cool, dark place. While the wine can be enjoyed immediately, aging it for several months will enhance its flavor.
Tips for Success
Sterilization
Keeping everything clean and sterilized is key to preventing unwanted bacteria from spoiling your wine. Wash your hands frequently during the process.
Monitoring Fermentation
Using a hydrometer to measure specific gravity can help you track the fermentation process and ensure your wine reaches the desired alcohol content.
Taste Testing
Regularly taste your wine during the maturation process to ensure it is developing the flavors you desire. Adjustments can be made by adding sugar or acid as needed.
Troubleshooting
Fermentation Not Starting
If fermentation does not begin, check that the temperature is within the optimal range for your yeast strain. If it’s too cold, move the bucket to a warmer area.
Wine Tastes Off
If the wine tastes off, it could be due to contamination or an imbalance in sugar and acid. Always ensure everything is sterilized and follow the recipe closely.
Cloudy Wine
Cloudiness can result from insufficient fining or pectolase. Adding additional fining agents and allowing the wine to settle longer can help clarify it.
Conclusion
Making your own grape wine at home is a rewarding experience that combines patience, precision, and creativity. With the right ingredients, equipment, and careful attention to detail, you can produce a delicious homemade wine that you’ll be proud to share with friends and family.
I’m Chen Mina, from Vol de Nuit, who has a special passion for bartending, especially mixing wine, beer, and cooktail. Here you will find content about alcoholic beverages, I will bring you knowledge that few people know about this drink.
Related Posts
 How Much Alcohol Is In Champagne? Understanding The Basics
 How Many Calories In A Bottle Of Red Wine: Finding out The Mysteries Of Its Caloric Content
 What Does Vermouth Taste Like? Unlocking The Flavors And Aromas Of This Captivating Elixir
 Wine and Cheese Pairing: Mastering the Art for Culinary Delights